No edit summary |
No edit summary |
||
| (46 intermediate revisions by 5 users not shown) | |||
| Line 1: | Line 1: | ||
| − | [[File:Clash_Title.png| |
+ | [[File:Clash_Title.png|thumb|right|400px|Clash]] |
| − | '''Clash''' is a competitive team-based tournament system that rewards players for organized play. |
+ | '''Clash''' is a competitive team-based tournament system that rewards players for organized play.<ref>[https://na.leagueoflegends.com/en/featured/clash#/ Official Clash Site]</ref> |
| + | |||
| + | Its first official beta launched on December 15th, 2017 on European servers, with team creation being released on December 12th.<ref>[https://euw.leagueoflegends.com/en/news/game-updates/features/clash-beta-launches-europe Clash Beta Lanches in Europe]</ref> The original release date was set for around May 2018, but due to frequent crashes and development issues, its official release was delayed for over a year, with NA clash tests being conducted between August 19-25, 2019.<ref>[https://na.leagueoflegends.com/en/news/game-updates/special-event/na-clash-test-starts-august-19 NA Clash Test Starts August 19th]</ref> Its second official beta launched worldwide and took place across two weekends of December 7–8 and December 14–15, 2019. The current planned release date is for early 2020.<ref>[https://nexus.leagueoflegends.com/en-us/2019/10/dev-the-latest-on-clash/ Dev: The Latest of Clash]</ref> |
||
{{clr}} |
{{clr}} |
||
==Entry Requirements== |
==Entry Requirements== |
||
| Line 7: | Line 9: | ||
* [[Experience (summoner)|Summoner]] level 30 or more. |
* [[Experience (summoner)|Summoner]] level 30 or more. |
||
* Completed provisional matches in at least one ranked queue. |
* Completed provisional matches in at least one ranked queue. |
||
| − | * [[Honor]] level 2 or more. |
||
* SMS account verification (lasts 6 months). |
* SMS account verification (lasts 6 months). |
||
| Line 13: | Line 14: | ||
==Team organization== |
==Team organization== |
||
| − | [[File:Clash Team Creation beta.png| |
+ | [[File:Clash Team Creation beta.png|300px|right]] |
Teams are organized by a captain who decides the name, tag, and {{tt|logo|Chromas unlocked if more members own the logo}}. The team's tier adjusts based on the rank composition of its members. |
Teams are organized by a captain who decides the name, tag, and {{tt|logo|Chromas unlocked if more members own the logo}}. The team's tier adjusts based on the rank composition of its members. |
||
| Line 25: | Line 26: | ||
{{clr}} |
{{clr}} |
||
==Phases== |
==Phases== |
||
| ⚫ | |||
===1. Lock-in phase=== |
===1. Lock-in phase=== |
||
| − | The entire team must lock-in within 30 minutes of match start |
+ | The entire team must lock-in within 30 minutes of match start; otherwise they will not participate, and their tickets will be returned. |
===2. Scouting Phase=== |
===2. Scouting Phase=== |
||
Teams are presented with information about the rival team to make decisions on pick/ban strategy. This phase lasts 7 minutes. |
Teams are presented with information about the rival team to make decisions on pick/ban strategy. This phase lasts 7 minutes. |
||
| ⚫ | |||
| − | {{clr}} |
||
===3. Champion Select=== |
===3. Champion Select=== |
||
Champion select follows the [[Draft_Pick#Tournament Draft|tournament draft]], where all champions are unlocked. |
Champion select follows the [[Draft_Pick#Tournament Draft|tournament draft]], where all champions are unlocked. |
||
| Line 46: | Line 46: | ||
==House Rules== |
==House Rules== |
||
| − | [[File:Clash login screen image.jpg| |
+ | [[File:Clash login screen image.jpg|300px|right]] |
===Pauses & Remakes=== |
===Pauses & Remakes=== |
||
<code>/pause</code> and <code>[[Remake|/remake]]</code> are disabled in the Clash so matches cannot be overrun or be remade to prevent extended days of play. There's a potential for griefing or trolling through abuse of these features. |
<code>/pause</code> and <code>[[Remake|/remake]]</code> are disabled in the Clash so matches cannot be overrun or be remade to prevent extended days of play. There's a potential for griefing or trolling through abuse of these features. |
||
| Line 65: | Line 65: | ||
Entry with[[File:Clash 5 Tickets.png|50px]] tickets grants a Clash Capsule, which will also award a skin shard and another ticket. |
Entry with[[File:Clash 5 Tickets.png|50px]] tickets grants a Clash Capsule, which will also award a skin shard and another ticket. |
||
| + | <center> |
||
| − | {| class="article-table" style=" |
+ | {| class="article-table" style="display:inline-table;" |
| − | |+|[[File:Clash 8 Bracket Orb.png|150px]] |
+ | |+|[[File:Clash 8 Bracket Orb.png|150px]]<br> Orb |
|-| |
|-| |
||
| + | ! style="text-align:center;"| Place |
||
| − | ! Place |
||
| − | ! Reward |
+ | ! style="text-align:center;"| Reward |
|-| |
|-| |
||
| 8th |
| 8th |
||
| Line 75: | Line 76: | ||
|-| |
|-| |
||
| 6th |
| 6th |
||
| + | | [[File:Mystery Icon Token.png|24px]] Random Icon |
||
| ⚫ | |||
|-| |
|-| |
||
| 5th |
| 5th |
||
| + | | Unknown |
||
| ⚫ | |||
|-| |
|-| |
||
| 4th |
| 4th |
||
| + | | Unknown |
||
| ⚫ | |||
|-| |
|-| |
||
| 2nd |
| 2nd |
||
| + | | Unknown |
||
| ⚫ | |||
|-| |
|-| |
||
| 1st |
| 1st |
||
| + | | Unknown |
||
| ⚫ | |||
|} |
|} |
||
| − | {| class="article-table" style=" |
+ | {| class="article-table" style="display:inline-table;" |
| − | |+|[[File:Clash 8 Bracket Capsule.png|150px]] |
+ | |+|[[File:Clash 8 Bracket Capsule.png|Orb|150px]]<br>Capsule |
|-| |
|-| |
||
| + | ! style="text-align:center;"| Place |
||
| − | ! Place |
||
| − | ! Reward |
+ | ! style="text-align:center;"| Reward |
|-| |
|-| |
||
| 8th |
| 8th |
||
| Line 114: | Line 115: | ||
| Unknown |
| Unknown |
||
|} |
|} |
||
| + | </center> |
||
| − | |||
{{clr}} |
{{clr}} |
||
| + | |||
| + | ====Old Rewards==== |
||
| + | <center> |
||
| + | {| class="article-table" style="display:inline-table;" |
||
| + | |+|[[File:Clash 8 Bracket Orb.png|150px]]<br> Test Orb |
||
| + | |-| |
||
| + | ! style="text-align:center;"| Place |
||
| + | ! style="text-align:center;"| Reward |
||
| + | |-| |
||
| + | | 8th |
||
| + | | 3-Win {{XP|XP}} Boost |
||
| + | |-| |
||
| + | | 6th |
||
| ⚫ | |||
| + | |-| |
||
| + | | 5th |
||
| ⚫ | |||
| + | |-| |
||
| + | | 4th |
||
| ⚫ | |||
| + | |-| |
||
| + | | 2nd |
||
| ⚫ | |||
| + | |-| |
||
| + | | 1st |
||
| ⚫ | |||
| + | |} |
||
| + | </center> |
||
== Cosmetics == |
== Cosmetics == |
||
| Line 123: | Line 152: | ||
Demacia= |
Demacia= |
||
These are the default flags used. |
These are the default flags used. |
||
| − | <gallery |
+ | <gallery navigation = true bordersize=none captionalign = center widths="120" position="center"> |
Clash Level 3 Demacia Flag.png|Demacia 1 |
Clash Level 3 Demacia Flag.png|Demacia 1 |
||
Clash Level 4 Demacia Flag.png|Demacia 2 |
Clash Level 4 Demacia Flag.png|Demacia 2 |
||
Clash Level 5 Demacia Flag.png|Demacia 3 |
Clash Level 5 Demacia Flag.png|Demacia 3 |
||
</gallery> |
</gallery> |
||
| − | <gallery |
+ | <gallery navigation = true bordersize=none captionalign = center widths="120" position="center"> |
Clash Level 3 Demacia Flag 2.png|Demacia 1 |
Clash Level 3 Demacia Flag 2.png|Demacia 1 |
||
Clash Level 4 Demacia Flag 2.png|Demacia 2 |
Clash Level 4 Demacia Flag 2.png|Demacia 2 |
||
| Line 135: | Line 164: | ||
|-|Freljord= |
|-|Freljord= |
||
| − | <gallery |
+ | <gallery navigation = true bordersize=none captionalign = center widths="120" position="center"> |
Clash Level 3 Freljord Flag.png|Freljord 1 |
Clash Level 3 Freljord Flag.png|Freljord 1 |
||
Clash Level 4 Freljord Flag.png|Freljord 2 |
Clash Level 4 Freljord Flag.png|Freljord 2 |
||
Clash Level 5 Freljord Flag.png|Freljord 3 |
Clash Level 5 Freljord Flag.png|Freljord 3 |
||
</gallery> |
</gallery> |
||
| − | <gallery |
+ | <gallery navigation = true bordersize=none captionalign = center widths="120" position="center"> |
Clash Level 3 Freljord Flag 2.png|Freljord 1 |
Clash Level 3 Freljord Flag 2.png|Freljord 1 |
||
Clash Level 4 Freljord Flag 2.png|Freljord 2 |
Clash Level 4 Freljord Flag 2.png|Freljord 2 |
||
| Line 147: | Line 176: | ||
|-|Piltover= |
|-|Piltover= |
||
| − | <gallery |
+ | <gallery navigation = true bordersize=none captionalign = center widths="120" position="center"> |
Clash Level 3 Piltover Flag.png|Piltover 1 |
Clash Level 3 Piltover Flag.png|Piltover 1 |
||
Clash Level 4 Piltover Flag.png|Piltover 2 |
Clash Level 4 Piltover Flag.png|Piltover 2 |
||
Clash Level 5 Piltover Flag.png|Piltover 3 |
Clash Level 5 Piltover Flag.png|Piltover 3 |
||
</gallery> |
</gallery> |
||
| − | <gallery |
+ | <gallery navigation = true bordersize=none captionalign = center widths="120" position="center"> |
Clash Level 3 Piltover Flag 2.png|Piltover 1 |
Clash Level 3 Piltover Flag 2.png|Piltover 1 |
||
Clash Level 4 Piltover Flag 2.png|Piltover 2 |
Clash Level 4 Piltover Flag 2.png|Piltover 2 |
||
| Line 159: | Line 188: | ||
|-|Shadow Isles= |
|-|Shadow Isles= |
||
| − | <gallery |
+ | <gallery navigation = true bordersize=none captionalign = center widths="120" position="center"> |
Clash Level 3 Shadow Isles Flag.png|Shadow Isles 1 |
Clash Level 3 Shadow Isles Flag.png|Shadow Isles 1 |
||
Clash Level 4 Shadow Isles Flag.png|Shadow Isles 2 |
Clash Level 4 Shadow Isles Flag.png|Shadow Isles 2 |
||
Clash Level 5 Shadow Isles Flag.png|Shadow Isles 3 |
Clash Level 5 Shadow Isles Flag.png|Shadow Isles 3 |
||
</gallery> |
</gallery> |
||
| − | <gallery |
+ | <gallery navigation = true bordersize=none captionalign = center widths="120" position="center"> |
Clash Level 3 Shadow Isles Flag 2.png|Shadow Isles 1 |
Clash Level 3 Shadow Isles Flag 2.png|Shadow Isles 1 |
||
Clash Level 4 Shadow Isles Flag 2.png|Shadow Isles 2 |
Clash Level 4 Shadow Isles Flag 2.png|Shadow Isles 2 |
||
| Line 171: | Line 200: | ||
|-|Zaun= |
|-|Zaun= |
||
| − | <gallery |
+ | <gallery navigation = true bordersize=none captionalign = center widths="120" position="center"> |
Clash Level 3 Zaun Flag.png|Zaun 1 |
Clash Level 3 Zaun Flag.png|Zaun 1 |
||
Clash Level 4 Zaun Flag.png|Zaun 2 |
Clash Level 4 Zaun Flag.png|Zaun 2 |
||
Clash Level 5 Zaun Flag.png|Zaun 3 |
Clash Level 5 Zaun Flag.png|Zaun 3 |
||
</gallery> |
</gallery> |
||
| − | <gallery |
+ | <gallery navigation = true bordersize=none captionalign = center widths="120" position="center"> |
Clash Level 3 Zaun Flag 2.png|Zaun 1 |
Clash Level 3 Zaun Flag 2.png|Zaun 1 |
||
Clash Level 4 Zaun Flag 2.png|Zaun 2 |
Clash Level 4 Zaun Flag 2.png|Zaun 2 |
||
| Line 184: | Line 213: | ||
|-|Alpha= |
|-|Alpha= |
||
Probably used in internal testings. Never reached live servers. |
Probably used in internal testings. Never reached live servers. |
||
| − | <gallery |
+ | <gallery navigation = true bordersize=none captionalign = center widths="120" position="center"> |
Clash Level 3 Alpha Flag 2.png|Alpha 1 |
Clash Level 3 Alpha Flag 2.png|Alpha 1 |
||
Clash Level 4 Alpha Flag 2.png|Alpha 2 |
Clash Level 4 Alpha Flag 2.png|Alpha 2 |
||
| Line 191: | Line 220: | ||
|-|Beta= |
|-|Beta= |
||
| − | <gallery |
+ | <gallery navigation = true bordersize=none captionalign = center widths="120" position="center"> |
Clash Level 3 Beta Flag.png|Beta 1 |
Clash Level 3 Beta Flag.png|Beta 1 |
||
Clash Level 4 Beta Flag.png|Beta 2 |
Clash Level 4 Beta Flag.png|Beta 2 |
||
Clash Level 5 Beta Flag.png|Beta 3 |
Clash Level 5 Beta Flag.png|Beta 3 |
||
</gallery> |
</gallery> |
||
| − | <gallery |
+ | <gallery navigation = true bordersize=none captionalign = center widths="120" position="center"> |
Clash Level 3 Beta Flag 2.png|Beta 1 |
Clash Level 3 Beta Flag 2.png|Beta 1 |
||
Clash Level 4 Beta Flag 2.png|Beta 2 |
Clash Level 4 Beta Flag 2.png|Beta 2 |
||
| Line 208: | Line 237: | ||
Demacia= |
Demacia= |
||
| − | <gallery |
+ | <gallery navigation = true bordersize=none captionalign = center widths="120" position="center"> |
Clash Level 3 Demacia Trophy.png|Demacia 1 |
Clash Level 3 Demacia Trophy.png|Demacia 1 |
||
Clash Level 4 Demacia Trophy.png|Demacia 2 |
Clash Level 4 Demacia Trophy.png|Demacia 2 |
||
| Line 215: | Line 244: | ||
|-|Freljord= |
|-|Freljord= |
||
| − | <gallery |
+ | <gallery navigation = true bordersize=none captionalign = center widths="120" position="center"> |
Clash Level 3 Freljord Trophy.png|Freljord 1 |
Clash Level 3 Freljord Trophy.png|Freljord 1 |
||
Clash Level 4 Freljord Trophy.png|Freljord 2 |
Clash Level 4 Freljord Trophy.png|Freljord 2 |
||
| Line 222: | Line 251: | ||
|-|Piltover= |
|-|Piltover= |
||
| − | <gallery |
+ | <gallery navigation = true bordersize=none captionalign = center widths="120" position="center"> |
Clash Level 3 Piltover Trophy.png|Piltover 1 |
Clash Level 3 Piltover Trophy.png|Piltover 1 |
||
Clash Level 4 Piltover Trophy.png|Piltover 2 |
Clash Level 4 Piltover Trophy.png|Piltover 2 |
||
| Line 229: | Line 258: | ||
|-|Shadow Isles= |
|-|Shadow Isles= |
||
| − | <gallery |
+ | <gallery navigation = true bordersize=none captionalign = center widths="120" position="center"> |
Clash Level 3 Shadow Isles Trophy.png|Shadow Isles 1 |
Clash Level 3 Shadow Isles Trophy.png|Shadow Isles 1 |
||
Clash Level 4 Shadow Isles Trophy.png|Shadow Isles 2 |
Clash Level 4 Shadow Isles Trophy.png|Shadow Isles 2 |
||
| Line 236: | Line 265: | ||
|-|Zaun= |
|-|Zaun= |
||
| − | <gallery |
+ | <gallery navigation = true bordersize=none captionalign = center widths="120" position="center"> |
Clash Level 3 Zaun Trophy.png|Zaun 1 |
Clash Level 3 Zaun Trophy.png|Zaun 1 |
||
Clash Level 4 Zaun Trophy.png|Zaun 2 |
Clash Level 4 Zaun Trophy.png|Zaun 2 |
||
| Line 244: | Line 273: | ||
|-|Alpha= |
|-|Alpha= |
||
Probably used in internal testings. Never reached live servers. |
Probably used in internal testings. Never reached live servers. |
||
| − | <gallery |
+ | <gallery navigation = true bordersize=none captionalign = center widths="120" position="center"> |
Clash Level 3 Alpha Trophy.png|Alpha 1 |
Clash Level 3 Alpha Trophy.png|Alpha 1 |
||
Clash Level 4 Alpha Trophy.png|Alpha 2 |
Clash Level 4 Alpha Trophy.png|Alpha 2 |
||
| Line 253: | Line 282: | ||
=== Flag Frames === |
=== Flag Frames === |
||
| − | <gallery |
+ | <gallery navigation = true bordersize=none captionalign = center widths="120" position="center"> |
Clash Level 1 Flag Frame.png|Flag Frame 1 |
Clash Level 1 Flag Frame.png|Flag Frame 1 |
||
Clash Level 2 Flag Frame.png|Flag Frame 2 |
Clash Level 2 Flag Frame.png|Flag Frame 2 |
||
| Line 262: | Line 291: | ||
=== Pedestals === |
=== Pedestals === |
||
| − | <gallery |
+ | <gallery navigation = true bordersize=none captionalign = center widths="120" position="center"> |
Clash Level 1 Pedestal.png|Pedestal 1 |
Clash Level 1 Pedestal.png|Pedestal 1 |
||
Clash Level 2 Pedestal.png|Pedestal 2 |
Clash Level 2 Pedestal.png|Pedestal 2 |
||
| Line 270: | Line 299: | ||
=== Logos === |
=== Logos === |
||
| − | <gallery |
+ | <gallery navigation = true bordersize=none captionalign = center widths="90" position="center"> |
Clash WolvesLogo (Base).png|Wolves (Base) |
Clash WolvesLogo (Base).png|Wolves (Base) |
||
Clash UrfLogo (Base).png|Urf (Base) |
Clash UrfLogo (Base).png|Urf (Base) |
||
| Line 323: | Line 352: | ||
Clash ToolsLogo (Base).png|Tools (Base) |
Clash ToolsLogo (Base).png|Tools (Base) |
||
</gallery> |
</gallery> |
||
| + | |||
| + | ==Trivia== |
||
| + | * Clash is commonly referred to as "Crash" by the community, due to the tournament system constantly crashing every time it was re-released for the community. |
||
== Media == |
== Media == |
||
<tabber> |
<tabber> |
||
Music= |
Music= |
||
| ⚫ | |||
| ⚫ | |||
| ⚫ | |||
;Related Music |
;Related Music |
||
| ⚫ | |||
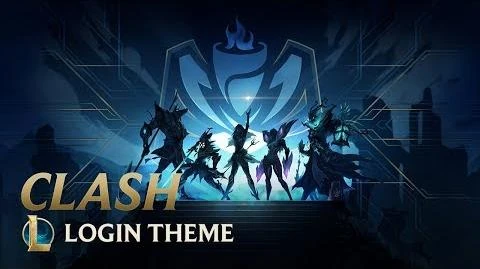
<gallery columns="5" widths="120" spacing="small" position="center" captionalign="center"> |
<gallery columns="5" widths="120" spacing="small" position="center" captionalign="center"> |
||
| + | Clash - Login Screen| |
||
</gallery> |
</gallery> |
||
| Line 337: | Line 370: | ||
|-| |
|-| |
||
Videos= |
Videos= |
||
| − | [[File: |
+ | [[File:Gameplay & Ranked in Season 2020 Dev Video - League of Legends|center|640 px]] |
;Related Videos |
;Related Videos |
||
<gallery columns="5" widths="120" spacing="small" position="center" captionalign="center"> |
<gallery columns="5" widths="120" spacing="small" position="center" captionalign="center"> |
||
Competition and New Players Riot Pls - League of Legends| |
Competition and New Players Riot Pls - League of Legends| |
||
| + | Fight as Five. Win as One Clash - League of Legends|| |
||
| ⚫ | |||
| ⚫ | |||
| ⚫ | |||
| ⚫ | |||
Clash Explained Clash - League of Legends| |
Clash Explained Clash - League of Legends| |
||
| ⚫ | |||
| ⚫ | |||
| ⚫ | |||
| ⚫ | |||
</gallery> |
</gallery> |
||
| Line 361: | Line 395: | ||
Clash Title 2.png|Clash title card 02 |
Clash Title 2.png|Clash title card 02 |
||
Clash Wordmark.png|Wordmark |
Clash Wordmark.png|Wordmark |
||
| − | Clash Logo. |
+ | Clash Logo.svg|Logo |
| + | Clash Standard Ticket.png|Standard Ticket |
||
| + | Clast Premium Ticket.png|Premium Ticket |
||
</gallery> |
</gallery> |
||
| Line 367: | Line 403: | ||
</tabber> |
</tabber> |
||
| + | ==See Also== |
||
| + | * [https://na.leagueoflegends.com/en/featured/clash#/ Official Clash Site] |
||
| + | {{references}} |
||
| − | ==References== |
||
| − | {{Reflist}} |
||
[[Category:League of Legends]] |
[[Category:League of Legends]] |
||
| + | [[Category:Clash]] |
||
Revision as of 13:11, 22 February 2020
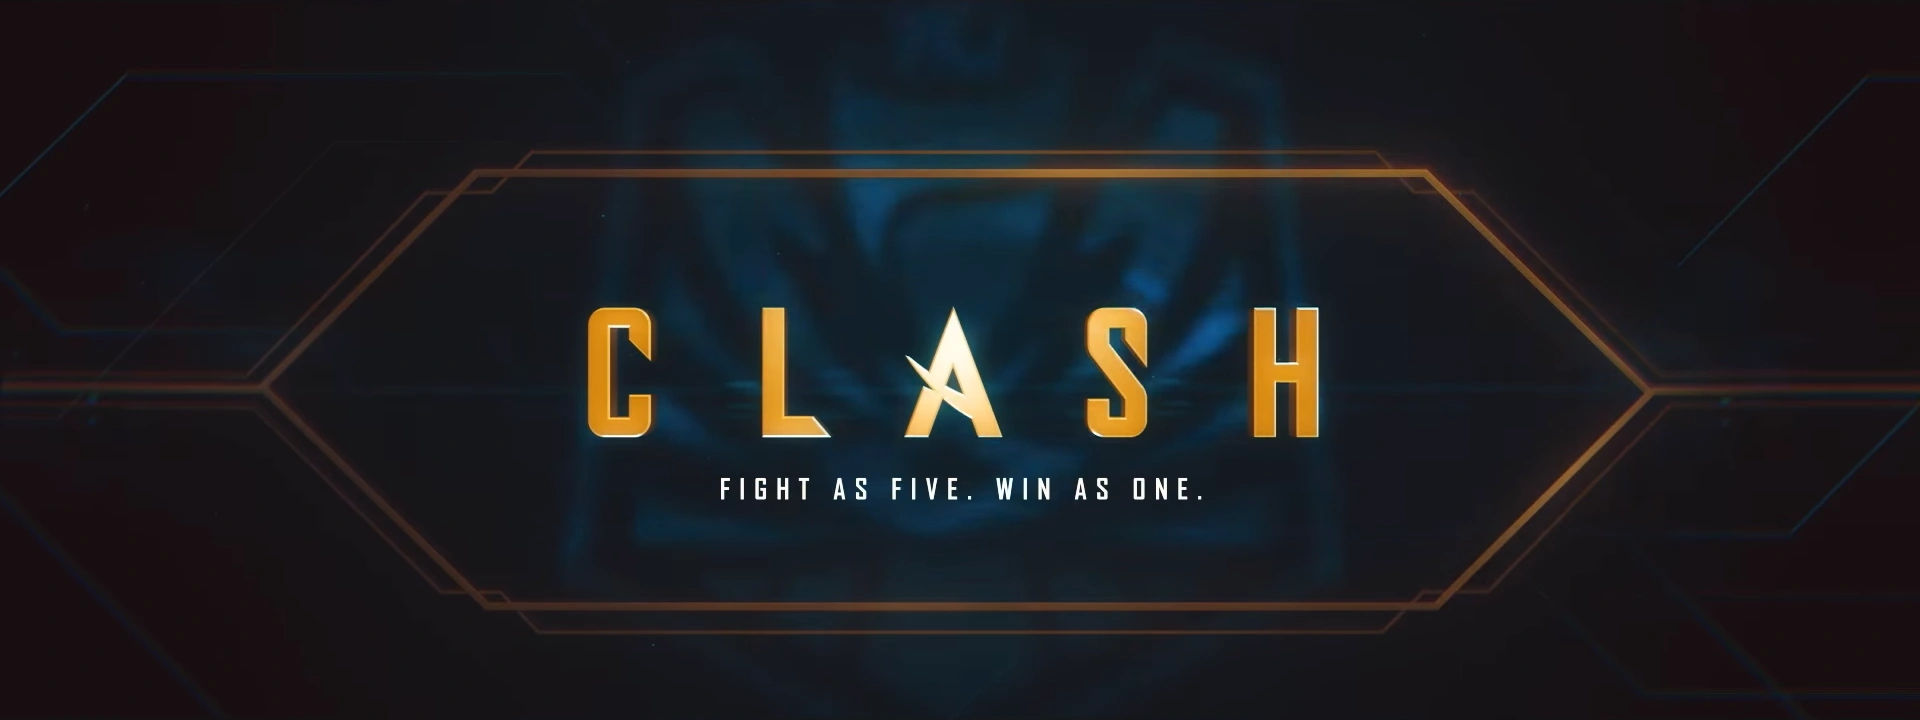

Clash
Clash is a competitive team-based tournament system that rewards players for organized play.[1]
Its first official beta launched on December 15th, 2017 on European servers, with team creation being released on December 12th.[2] The original release date was set for around May 2018, but due to frequent crashes and development issues, its official release was delayed for over a year, with NA clash tests being conducted between August 19-25, 2019.[3] Its second official beta launched worldwide and took place across two weekends of December 7–8 and December 14–15, 2019. The current planned release date is for early 2020.[4]
Entry Requirements
- Summoner level 30 or more.
- Completed provisional matches in at least one ranked queue.
- SMS account verification (lasts 6 months).
Entry into a bracket requires Clash Tickets that can be bought with ![]() 990 or
990 or ![]() 215. A player can instead submit five tickets to be eligible for more prizes upon victory in the tournament. A player can also submit a single ticket on behalf of a teammate without one. [5]
215. A player can instead submit five tickets to be eligible for more prizes upon victory in the tournament. A player can also submit a single ticket on behalf of a teammate without one. [5]
Team organization
Teams are organized by a captain who decides the name, tag, and logo. The team's tier adjusts based on the rank composition of its members.
Substitutes
In case of emergency, a player can be substituted for a single day, but only after the lock-in phase begins. The substitute must be in the same skill tier, and may only submit one ticket. The substitute receives rewards normally, while the subbed-out player receives losing rewards.
If the team wins the bracket, the subbed-out player is reinserted into the team for following brackets.
The subbed-out player can reclaim their position on the roster before the scouting phase begins.
Phases

You can check out your opponents' win rates and KDAs with their most-played champions in ranked, their best champs in terms of mastery, and their previous Clash data.
1. Lock-in phase
The entire team must lock-in within 30 minutes of match start; otherwise they will not participate, and their tickets will be returned.
2. Scouting Phase
Teams are presented with information about the rival team to make decisions on pick/ban strategy. This phase lasts 7 minutes.
3. Champion Select
Champion select follows the tournament draft, where all champions are unlocked.
A player that has not locked in will be given a random champion, if not their hovered champion.
Progression
Matches are done in a 8 team bracket, i.e for a maximum of 3 matches. Losing the first match will place the team in a consolation bracket where they can keep playing to earn better prizes.
Note that losing the second match will not place the team in a consolation bracket, forcing them to leave the tournament, reason for which there's no 7th or 3rd place.
House Rules
Pauses & Remakes
/pause and /remake are disabled in the Clash so matches cannot be overrun or be remade to prevent extended days of play. There's a potential for griefing or trolling through abuse of these features.
Sudden Death
After 60 minutes, towers will become more fragile and easy to push. By 65 minutes, structures will start to damage themselves at a fixed rate in order (towers in order, then inhibitors, then nexus turrets, then the nexus). By 70 minutes, one team will have won the game, decided by random if neither team damaged a structure. These measures are to keep match times at fixed lengths so operations are scheduled smoothly.
Prizes
The winning bracket will reward an exclusive profile icon, as well as a tournament trophy of the sized bracket.
Victory Points
Players gain Victory Points (VP) depending on the tier their team plays in, as well as their personal ticket entry. VP can be used to unlock team icons, and banners that will display in both the player's profile and their chosen lane on ![]() Summoner's Rift.
Summoner's Rift.
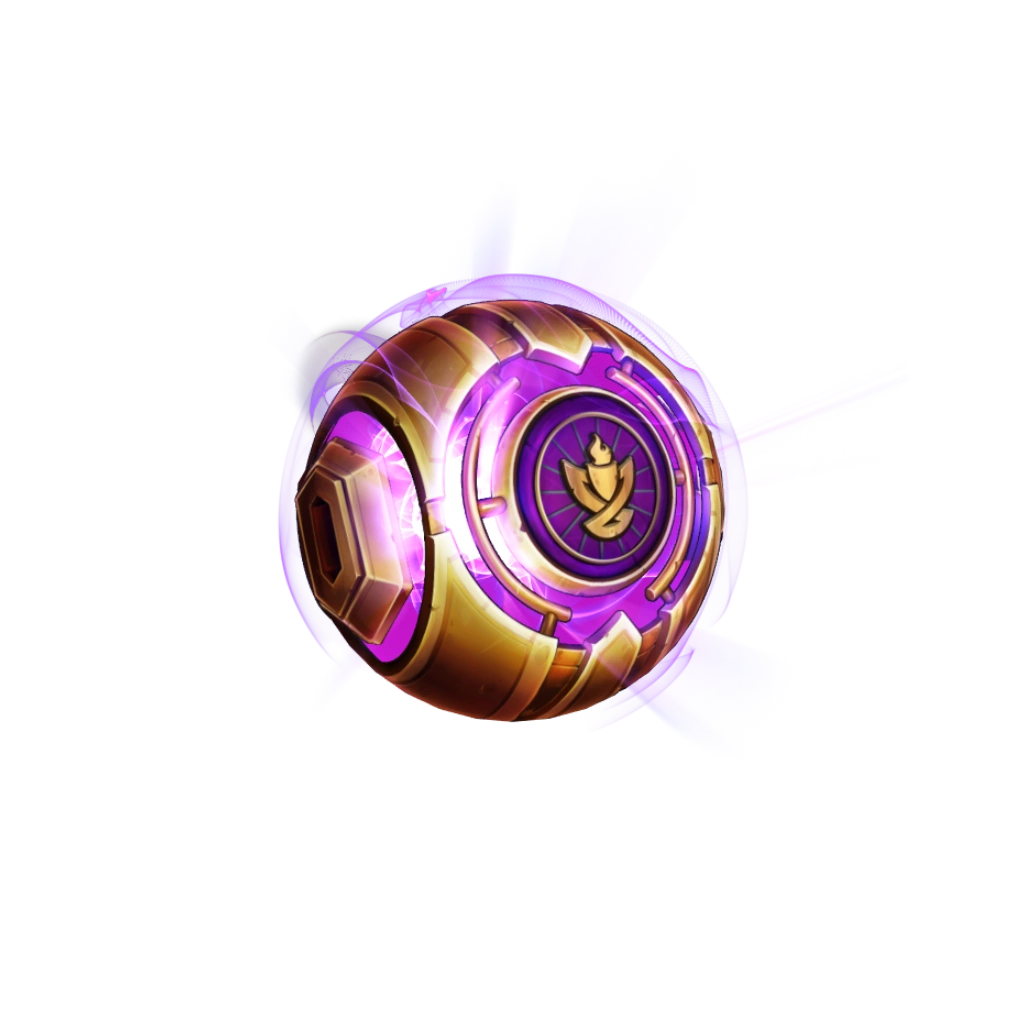
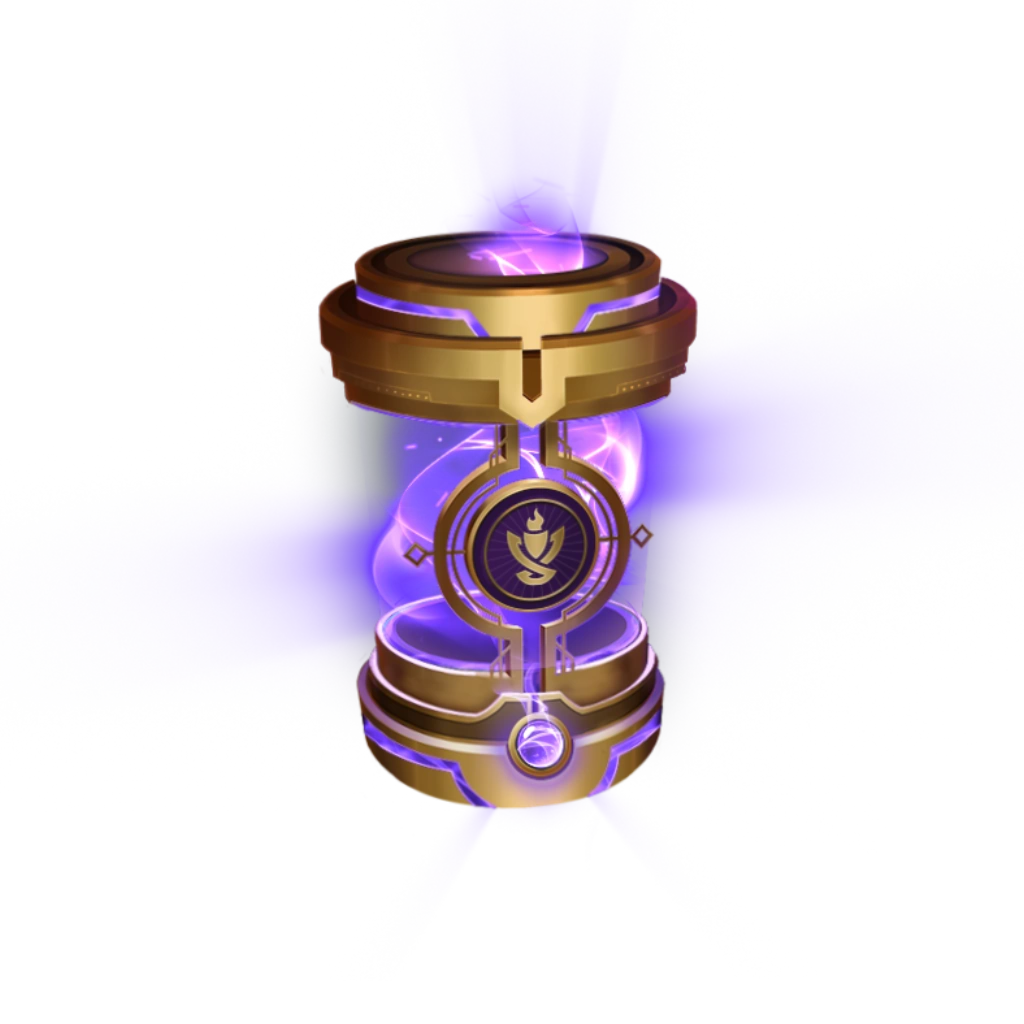
Orbs & Capsules
Exiting the tournament awards the player a Clash orb or capsule, depending on the number of tickets submitted, with prizes depending on their placement, with a guaranteed new Clash logo.
Entry with ticket grants a Clash Orb.
Entry with tickets grants a Clash Capsule, which will also award a skin shard and another ticket.
| Place | Reward |
|---|---|
| 8th | 3-Win |
| 6th | |
| 5th | Unknown |
| 4th | Unknown |
| 2nd | Unknown |
| 1st | Unknown |
| Place | Reward |
|---|---|
| 8th | Unknown |
| 6th | Unknown |
| 5th | Unknown |
| 4th | Unknown |
| 2nd | Unknown |
| 1st | Unknown |
Old Rewards
| Place | Reward |
|---|---|
| 8th | 3-Win |
| 6th | |
| 5th | |
| 4th | |
| 2nd | |
| 1st |
Cosmetics
Flags
These are the default flags used.
")
")
")
")
")
")
")
")
")
")
")
")
")
")
")
")
")
")
")
")
")
")
")
")
")
")
")
")
")
")
Probably used in internal testings. Never reached live servers.
")
")
")
")
")
")
")
")
")
Trophies
")
")
")
")
")
")
")
")
")
")
")
")
")
")
")
Probably used in internal testings. Never reached live servers.
")
")
")
Flag Frames
Pedestals
")
")
")
")
Logos
.png "Clash WolvesLogo (Base).png (163 KB)")
.png "Clash UrfLogo (Base).png (140 KB)")
.png "Clash TibbersLogo (Base).png (114 KB)")
.png "Clash RaptorLogo (Base).png (130 KB)")
.png "Clash PoolPartyLogo (Base).png (126 KB)")
.png "Clash BombLogo (Base).png (110 KB)")
.png "Clash BloodMoonLogo (Base).png (86 KB)")
.png "Clash ChomperLogo (Base).png (81 KB)")
.png "Clash VoidlingLogo (Base).png (93 KB)")
.png "Clash DarkStarLogo (Base).png (79 KB)")
.png "Clash MeepsLogo (Base).png (101 KB)")
.png "Clash KrugLogo (Base).png (103 KB)")
.png "Clash MinionLogo (Base).png (81 KB)")
.png "Clash PoroLogo (Base).png (86 KB)")
.png "Clash GrompLogo (Base).png (124 KB)")
.png "Clash SentinelLogo (Base).png (107 KB)")
.png "Clash BramblebackLogo (Base).png (113 KB)")
.png "Clash DragonLogo (Base).png (104 KB)")
.png "Clash RiftHeraldLogo (Base).png (112 KB)")
.png "Clash BaronNashorLogo (Base).png (109 KB)")
.png "Clash HelmetBroLogo (Base).png (108 KB)")
.png "Clash LanternLogo (Base).png (115 KB)")
.png "Clash ScuttleCrabLogo (Base).png (94 KB)")
.png "Clash WardLogo (Base).png (96 KB)")
.png "Clash MushroomLogo (Base).png (78 KB)")
.png "Clash SwordLogo (Base).png (101 KB)")
.png "Clash CannonLogo (Base).png (99 KB)")
.png "Clash ShopkeepLogo (Base).png (132 KB)")
.png "Clash MaidenLogo (Base).png (153 KB)")
.png "Clash PentakillLogo (Base).png (122 KB)")
.png "Clash TurretLogo (Base).png (166 KB)")
.png "Clash ArcadeLogo (Base).png (94 KB)")
.png "Clash RocketLogo (Base).png (126 KB)")
.png "Clash DemaciaLogo (Base).png (137 KB)")
.png "Clash ShurimaLogo (Base).png (146 KB)")
.png "Clash FreljordLogo (Base).png (120 KB)")
.png "Clash NoxusLogo (Base).png (114 KB)")
.png "Clash BilgewaterLogo (Base).png (156 KB)")
.png "Clash ShadowIslesLogo (Base).png (125 KB)")
.png "Clash MountTargonLogo (Base).png (141 KB)")
.png "Clash BandleCityLogo (Base).png (141 KB)")
.png "Clash TheVoidLogo (Base).png (128 KB)")
.png "Clash IoniaLogo (Base).png (149 KB)")
.png "Clash ZaunLogo (Base).png (126 KB)")
.png "Clash PiltoverLogo (Base).png (142 KB)")
.png "Clash StarGuardianLogo (Base).png (88 KB)")
.png "Clash BattlecastLogo (Base).png (115 KB)")
.png "Clash ChampionshipLogo (Base).png (125 KB)")
.png "Clash MSILogo (Base).png (106 KB)")
.png "Clash HexwrenchLogo (Base).png (106 KB)")
.png "Clash ToolsLogo (Base).png (118 KB)")
Trivia
- Clash is commonly referred to as "Crash" by the community, due to the tournament system constantly crashing every time it was re-released for the community.
Media
- Related Music
| Trophy Ceremony |
")

- Related Videos
")
")
")
")
")
")
")


See Also